 How-to
How to Protect an Asphalt Driveway From Cracks and Wear
Last Updated: November 17, 2026
Quick Summary
Protect an asphalt driveway by sealing cracks wider than a quarter inch, cleaning spills promptly, and sealcoating every two to three years after the surface fully cures. Wait at least three days before driving on new asphalt, and use plastic or rubber snow removal edges to prevent gouges.
- Wait at least three days before parking on new asphalt, or a full week in hot weather.
- Fill cracks wider than a quarter inch with asphalt crack filler after cleaning them.
- Sealcoat new asphalt only after at least six months, then reapply every two to three years.
- Set plow blades to leave about a quarter inch of snow instead of scraping bare pavement.
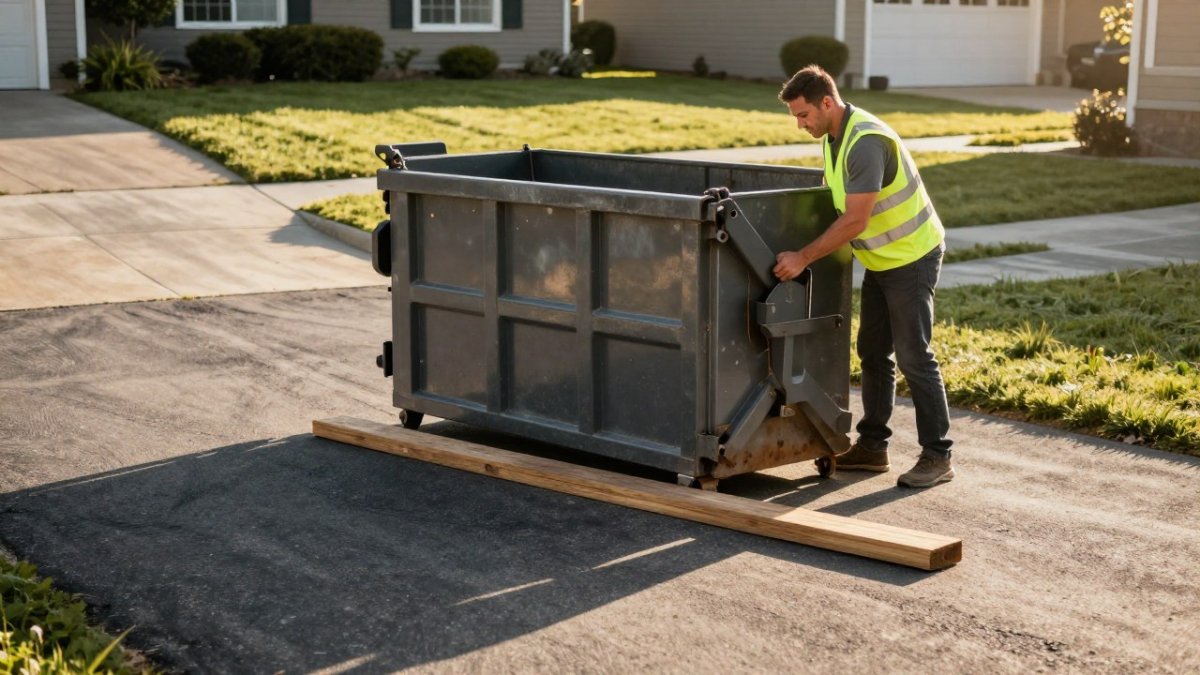
- Place plywood or protection mats under dumpsters and trailers to spread heavy loads.
Table of Contents
- Start With a Maintenance Plan Based on Driveway Age
- Crack Sealing, Pothole Patching, and Cleaning Spills
- Choosing the Best Driveway Sealer for Asphalt
- How to Protect an Asphalt Driveway From Heavy Objects
- How to Protect an Asphalt Driveway From Snow Removal Damage
- Drainage, Base Failure, and Warning Signs of Deeper Damage
- When to Call a Professional Instead of DIY
- Planning a Cleanout or Delivery Without Harming Your Driveway
- Frequently Asked Questions
Start With a Maintenance Plan Based on Driveway Age
Learning how to protect an asphalt driveway starts with one idea most guides skip: new asphalt is not ready for traffic the day it is poured. Fresh asphalt needs time to cure and harden. Driving on it too soon leaves ruts and tire marks that never fully fade.
So the first rule of driveway protection is patience, not products.
New Asphalt Driveway: How Long Before Driving on It
Wait at least three days before parking a car on a new asphalt driveway. In hot weather, give it a full week. Keep heavy trucks and trailers off the surface for at least 30 days.
Why the difference? Asphalt cures as the oils in the mix evaporate and the surface hardens. Cool weather slows that process. Hot weather speeds it up but also softens the surface under load.
A simple age-based plan keeps your driveway in good shape:
| Driveway Age | Main Focus | Timing |
|---|---|---|
| 0-30 days | Let it cure, no heavy loads | First month |
| 6-12 months | First sealcoat | After full cure |
| 1-5 years | Seal every 2-3 years, patch cracks | Spring and fall |
| 5+ years | Watch for base failure, call a pro | Year-round checks |
Walk your driveway twice a year and note new cracks, soft spots, or puddles. That habit alone catches most problems while they are cheap to fix.
Crack Sealing, Pothole Patching, and Cleaning Spills
Water is the enemy of asphalt pavement. It seeps into cracks, freezes, expands, and pushes the surface apart. Timely repairs stop that cycle before it starts.
Here is the order we recommend:
- Clean the surface with a stiff broom or blower.
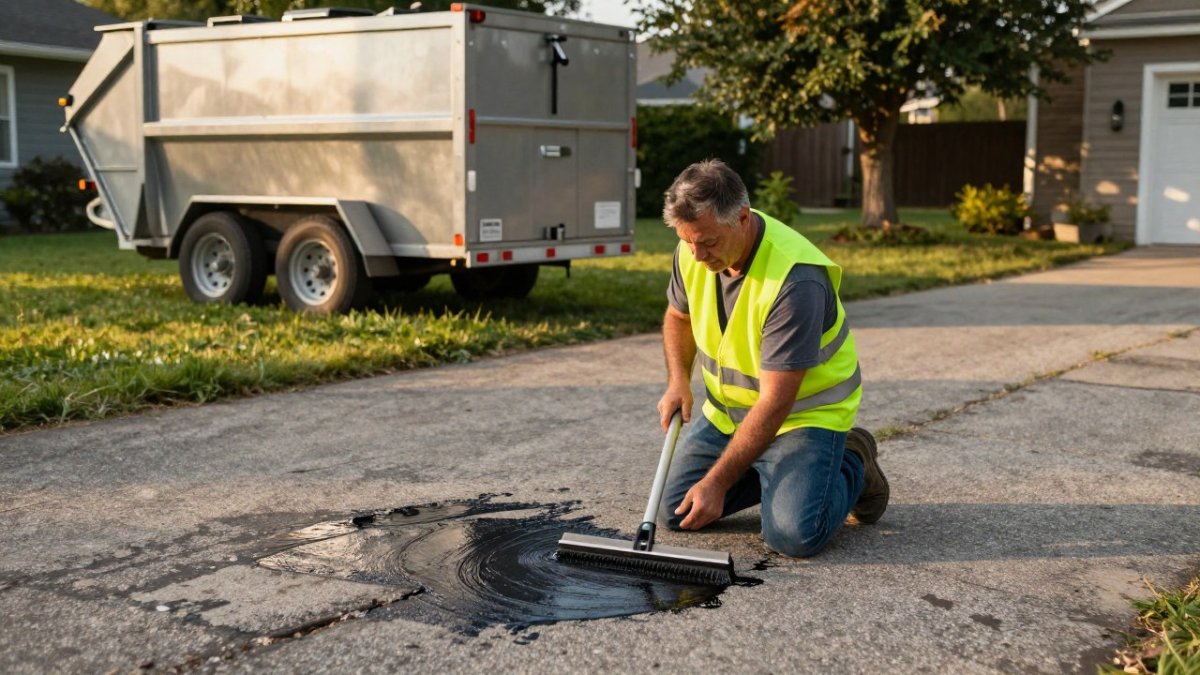
- Fill cracks wider than a quarter inch with asphalt crack filler.
- Patch potholes with cold patch, tamping it firm and level.
- Let all repairs set before sealing or driving over them.
A common mistake is sealing over a crack that is still full of dirt. The filler never bonds, and the crack reopens within a season. Clean first, then fill.
DIY Versus Professional Repair: A Decision Guide
Not every crack is a DIY job. Use this guide to tell manageable surface problems from structural ones that need a professional assessment.
- DIY: hairline cracks under a quarter inch, minor surface stains, small potholes less than a few inches across, and routine cleaning. These are surface issues that crack filler and cold patch handle well.
- Call a pro: cracks that reconnect after repair, alligator cracking across a wide area, potholes that keep returning in the same spot, sunken sections, and crumbling edges. These point to a failing base or a drainage problem that patching cannot fix.
The distinction matters because patching over a failing base may not address the underlying problem.
Cleaning Oil, Gasoline, and Grease Spills
Clean oil and gasoline spills promptly. Blot fresh spills with cat litter or sand, sweep it up, then scrub with a degreaser and rinse.
Use caution with a pressure washer on fresh stains, since excessive pressure can strip protective coatings.
Cost and Lifespan Tradeoffs
Preventive work is almost always cheaper than replacement. Catching a crack early can help extend the life of the surface. Sealcoating every few years can help extend pavement life.
Routine cleaning, crack filling, and timely sealcoating can help avoid the higher cost of patching a failing base or replacing a driveway. The tradeoff is time: DIY repairs take an afternoon, while a professional assessment costs more upfront but catches problems you cannot see.
Watch out: filling a crack that is still wet or full of dirt traps moisture under the filler, and the repair fails within a season.
Choosing the Best Driveway Sealer for Asphalt
A driveway sealer should be matched to your pavement's age and condition. Sealcoating is a protective coating that blocks UV rays, water, and chemical spills from reaching the surface.
But timing matters more than brand. Seal too early and trapped oils cannot escape. Seal too late and cracks have already taken hold. The Asphalt Institute pavement guidance recommends waiting until new asphalt has fully cured before sealing.
When to sealcoat:
- Wait at least six months on new asphalt.
- Apply in dry weather with temperatures above 50°F.
- Avoid sealing within 24 hours of rain.
- Reapply every two to three years, not every year.
Over-sealing is a real problem. A buildup of sealer layers cracks and peels, and it looks worse than bare pavement.
How to Protect an Asphalt Driveway From Heavy Objects
Heavy objects crush the surface and leave dents that collect water. To protect an asphalt driveway from heavy objects, spread the load and cushion the contact points.
Try these steps:
- Place plywood or protection mats under dumpsters and trailers.
- Keep heavy loads near the driveway edges, where the base is strongest.
- Avoid parking loaded trailers in the same spot every time.
- Never jack up a vehicle on bare asphalt in hot weather.
Weight distribution is the key. A loaded trailer parked on one small footprint will sink into soft asphalt on a warm day. Boards spread that weight across a wider area.
Watch out: skipping the boards on a hot afternoon can leave permanent ruts that no sealer will hide.
How to Protect an Asphalt Driveway From Snow Removal Damage
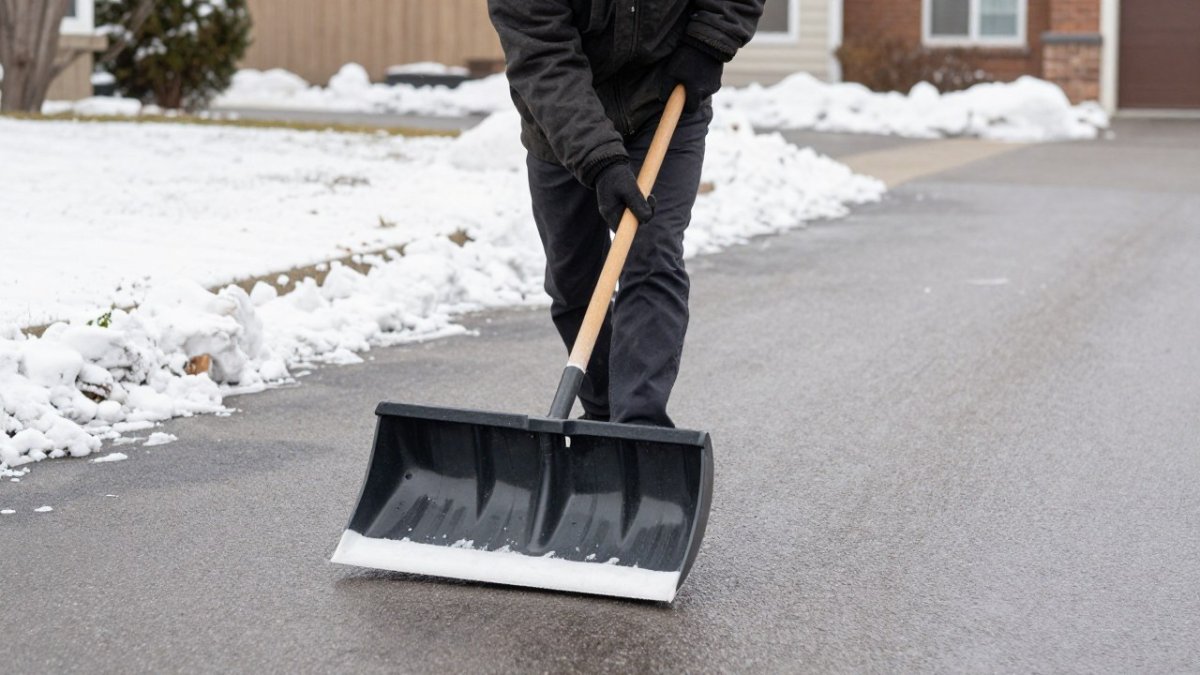
To protect an asphalt driveway from snow removal damage, use a plastic or rubber blade edge and keep the metal scoop lifted off the surface. Metal blades scrape the top layer and leave gouges that turn into cracks. The details below turn that general rule into settings you can actually use.
Snow Removal Settings and Equipment Choices
- Blade height: Set the plow or shovel to skim, not dig. Leave about a quarter inch of snow rather than scraping down to bare pavement. A metal edge that rides directly on the surface catches every high spot and chips it.
- Edge material: Use a plastic or rubber wear edge on a plow, and a plastic or poly shovel for hand clearing. Metal snow scoops and steel plow edges are the leading cause of gouges that later open into cracks.
- Shovel choice: A poly shovel with a reinforced wear strip glides over asphalt without catching. Avoid steel-blade shovels and ice choppers on the driveway surface.
- Pile placement: Push snow onto the lawn, not onto the driveway edges. Piling snow on the edge keeps meltwater against the pavement and softens the base.
Safe De-Icing Methods
Sand gives grip without the chemical cost. Sand is one option for traction, and some owners prefer it to road salt. If you use de-icing products, choose ones labeled safe for asphalt and apply them sparingly.
- Limit rock salt (sodium chloride) on newer asphalt, as it can speed surface wear.
- Sand is an option where you need traction without a chemical load.
- Apply de-icer before the storm when possible, so less product is needed and it does not sit in a thick layer against the surface.
- Sweep up leftover sand and de-icer in spring so it does not wash into cracks or stain the surface.
The EPA guidance on winter de-icing notes that sand and careful salt use limit environmental harm. The same habits protect the pavement.
Watch out: a metal-edged plow set low enough to scrape bare pavement will chip the surface on the first pass, and those chips become crack starters by spring.
Drainage, Base Failure, and Warning Signs of Deeper Damage
Standing water can be a sign of trouble, since it may work its way into the base over time.
Warning signs that point to deeper damage:
- Puddles that linger a day after rain
- Cracks that spread or reconnect after repair
- Depressions or soft spots underfoot
- Crumbling driveway edges
- Weeds growing through the surface
Any of these means the problem is under the pavement, not on it. Sealcoating does not repair a failing base, so a professional assessment may be needed.
When to Call a Professional Instead of DIY
Some jobs are worth doing yourself. Others cost more when you get them wrong. Here is our rule of thumb:
- DIY: small cracks, minor stains, light snow clearing, routine cleaning.
- Call a pro: widespread cracking, base failure, large potholes, full replacement.
A driveway that is alligator-cracked across the surface, or one with sunken sections, needs an expert eye. Patching over a failing base wastes money and delays the real fix.
If you are planning a major cleanout or a delivery, ask the provider how they protect the surface before they arrive. That one question saves a lot of grief.
Planning a Cleanout or Delivery Without Harming Your Driveway
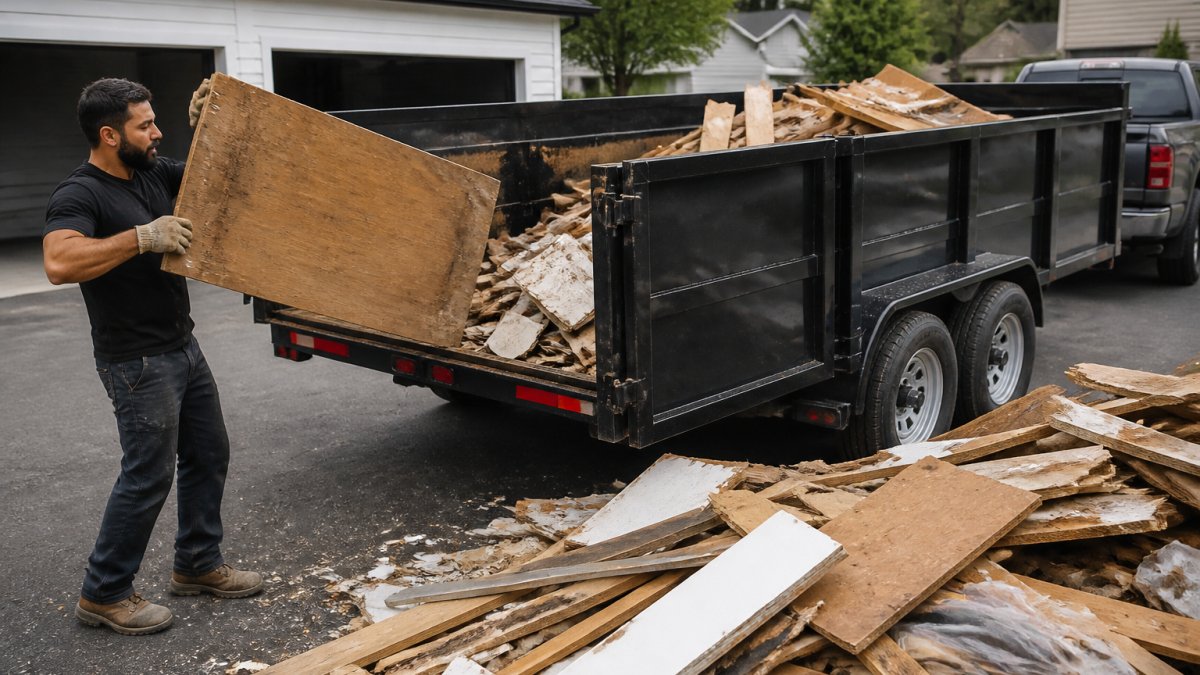
Big projects bring heavy equipment, and heavy equipment is where driveway damage happens. A dumpster dropped on bare asphalt in July can leave dents that last for years.
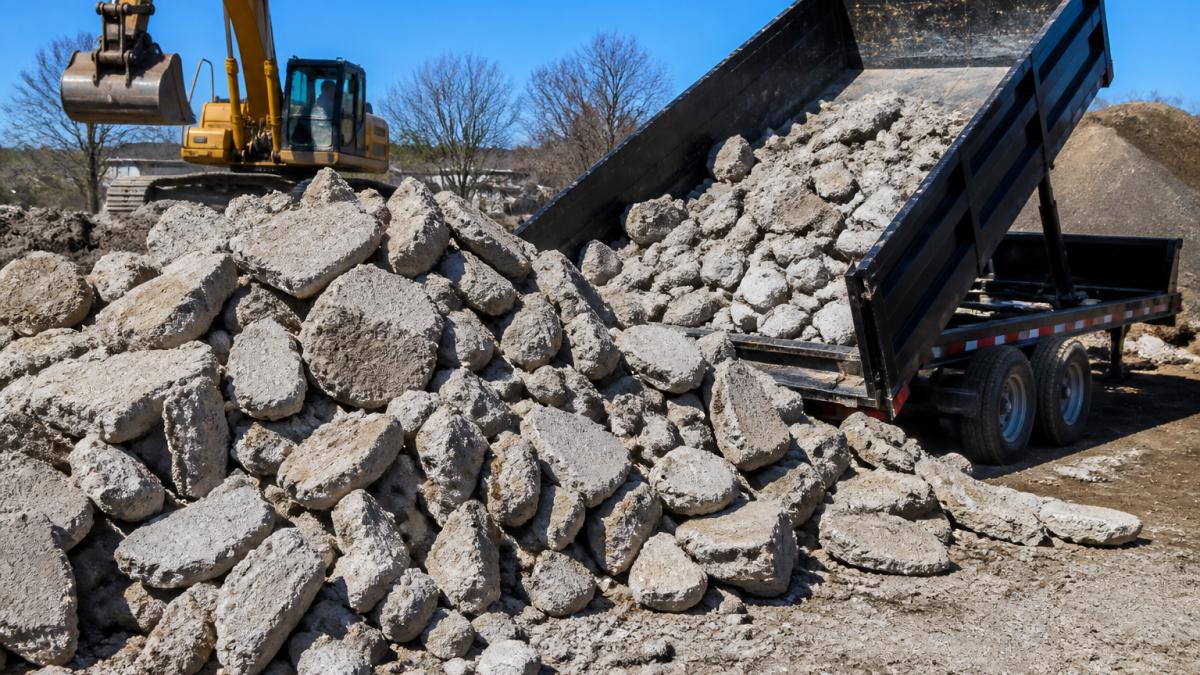
At Take Away Dump Services LLC, our disposal trailers come in 14 and 18 yard sizes. We are licensed and insured, and we deliver topsoil, crushed concrete, crushed limestone, and fill dirt for DIY projects.
Before any drop, consider these steps:
- Clear the drop zone and mark sprinkler heads or utilities.
- Put down plywood if the surface is new or the weather is hot.
- Keep the load near the edges, not the middle.
- Ask your provider about placement and timing.
If you want to know how a drop affects your surface, read our guide on whether a dumpster will damage your asphalt driveway. It walks through the risks and the fixes.
Protecting an asphalt driveway comes down to small habits done on time: let new pavement cure, seal on schedule, clean spills fast, and spread heavy loads.
Frequently Asked Questions
How soon can you drive on a new asphalt driveway?
Most new asphalt driveways need 24 to 72 hours of dry, mild weather before you drive on them, and full curing takes several months. During that first summer, keep heavy trucks, trailers, and sharp-edged equipment off the surface, and park in the same spots rather than spreading weight around. Hot weather makes new asphalt soft, so avoid turning wheels sharply while parked. Ask your installer for their specific timeline, since mix design and thickness affect curing.
How often should you seal an asphalt driveway?
Sealcoat every two to three years on a driveway in normal use, and wait at least six to twelve months before the first application on new asphalt so the surface can cure. Sealing too often builds up a brittle layer that cracks instead of flexing. Check for fading color, exposed aggregate, and fine surface cracks as your signal to reseal. Apply sealer when the pavement is dry and daytime temperatures stay above 50 degrees Fahrenheit with no rain forecast for 24 hours.
What should you avoid putting on an asphalt driveway?
Keep gasoline, oil, antifreeze, and pool chemicals off the surface, and wipe up spills quickly before they soften the binder. Avoid parking heavy trailers, dumpsters, or construction equipment directly on asphalt, especially in hot weather, because point loads can rut and crack the pavement. Never use road salt heavily, and skip metal snow shovels that scrape the surface. Place plywood or protection mats under any container or equipment that has to sit on the driveway.
How do you protect an asphalt driveway during a garage cleanout or renovation?
Ask the hauler whether their trailers are driveway friendly and request protection boards or mats under the container's contact points. Keep heavy loads distributed rather than concentrated at one edge, and avoid dragging furniture, appliances, or debris across the surface. Schedule delivery and pickup so the container does not sit on hot asphalt longer than needed. A provider may be able to advise on placement so the load stays off soft edges and drainage paths.